With our Zapier integration, you can easily integrate Verifalia’s email verification service with more than 6,000 apps without the help of any developer: read about what Zapier is and how it works, if you are new with that tool.
With the Zap action called Verify List of Email Addresses it is possible to verify entire lists of email addresses in bulk with Verifalia, checking in real-time if the addresses are properly formatted, really exist and can accept mails, if they are free or business mails, flagging spam traps, role accounts, disposable and catch-all addresses - following all the 28+ steps of our email verification process. While both this Zap action and the one named Verify Email Address verify email addresses using the same features and algorithms, the former also allows you to mark duplicate email addresses in your lists and automatically imports the source files and exports the verification results in CSV or Microsoft Excel formats.
In this article we will show you how to create a sample Zap that connects Verifalia with Google Drive, so that every time you upload a list of email addresses to a folder of your choice, Verifalia will verify that list and export the verification results file in another Google Drive folder, along with the deliverability classification and verification status for each email address.
The final Zap will have this sequence:
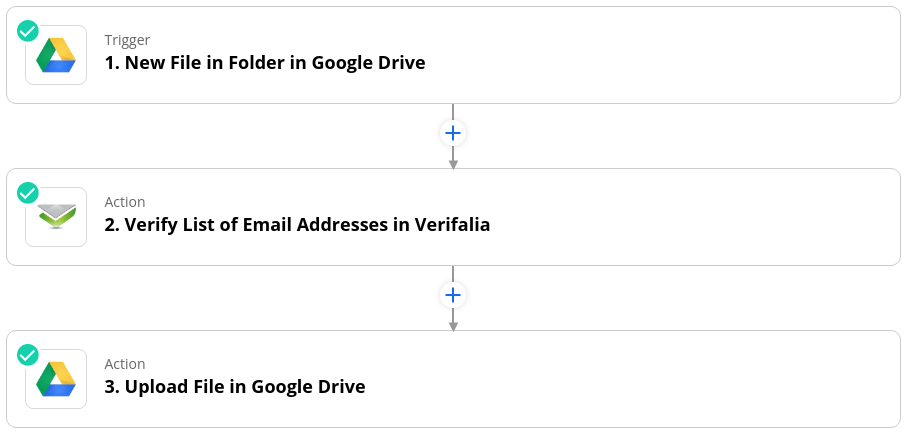
We will achieve these goals:
- pull in every new lists uploaded to a specific Google Drive folder;
- use our email list verification service to verify all the emails contained in the lists;
- export the verification results from Verifalia into another Google Drive folder.
Prerequisites
What do you need to connect Verifalia and Google Drive through Zapier?
- A Verifalia account: you can register for a free Verifalia account if you don't have one already, and get 25 free email verifications per day.
- A Google account: a Google account along with a new empty folder in your Google Drive are needed specifically for our Zap.
- A Zapier account: create a free Zapier account, if you don't have one already.
Step-by-step
Now let’s get started with a step-by-step guide to help you create a Zap between Google Drive and Verifalia, so that you will build your own bulk email verification automation sequence.
Step 1
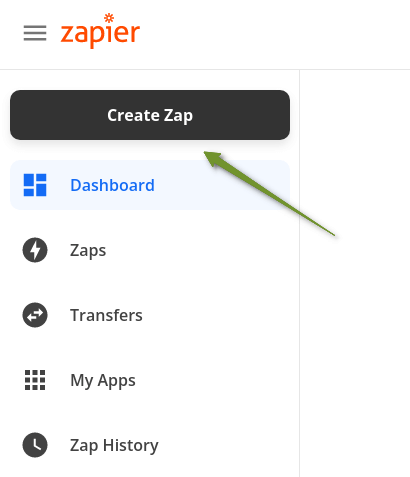
Log into your Zapier account and click the Create a Zap button from the menu shown on the left side of the page.
Step 2
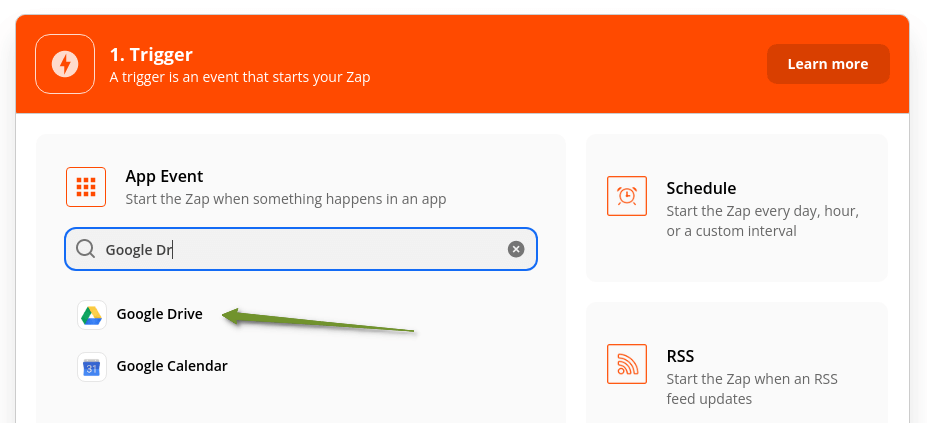
Next, set up the Trigger, which will determine when to start the Zap: on the App Event section click on Google Drive. If that option is not available, type Google Drive in the Search apps text field - once the app appears in the list, select it.
Step 3
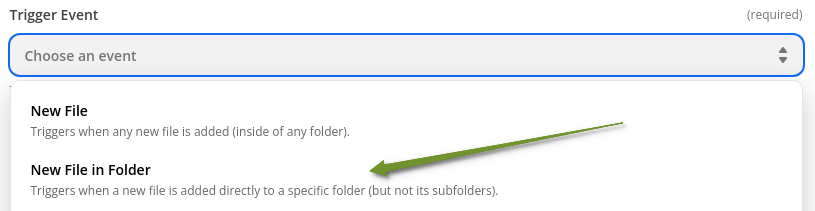
Choose the Google Drive trigger named New File in Folder in the Trigger Event field, which will cause Zapier to perform the following actions whenever a new file is uploaded into a specific Google Drive folder, then click Continue.
Step 4
Click Choose Account choose a Google account or enter its credentials, then grant Zapier permission to access your Google Drive. Then, click Continue.

Step 5
Choose the specific Google Drive and the folder you want to monitor in the Zap: the system will automatically display all the folders of your Google Drive. Then, click Continue, Test trigger and Continue one last time.

⚠️ New files added to sub-folders within the chosen folder will not trigger this Zap; the default is the top-level folder, if none are selected.
Step 6
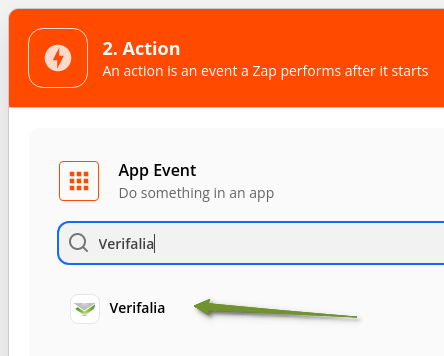
Now it is time to set up the first action. At this stage, the system is ready to monitor the Google Drive folder you selected and check for any new files: you now only need to configure the actions to perform next: in the Action card shown below the previous one, search for Verifalia and select it.
Step 7
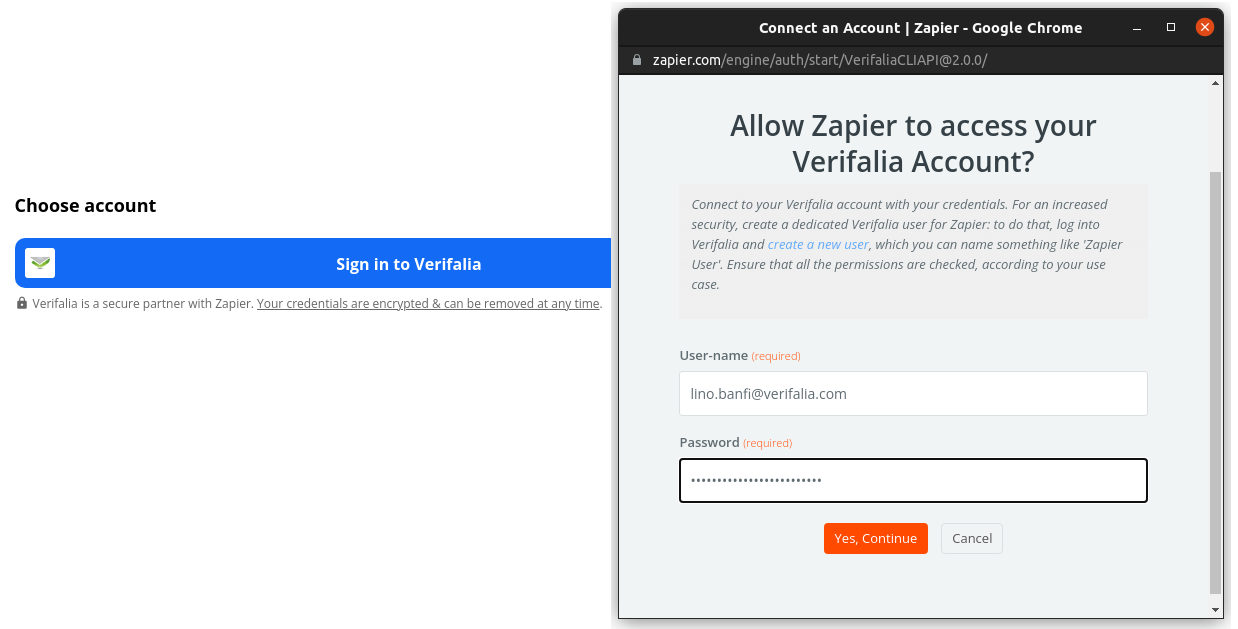
In the Action Event field select the Verify List of Email Addresses option, then click Continue, followed by Choose Account, so that you can finally connect your Verifalia account with Zapier: once the authentication interface is shown, enter your Verifalia user-name and password. Then, select Yes, Continue.
🛡 Using a dedicated user
For added security, create and use a dedicated Verifalia user for Zapier: to do that, log into Verifalia and create a new user, which you can name something like 'Zapier User'. Ensure that all the permissions are granted, according to your use case: to take full advantage of our Zapier integration, you may want to grant the Submit jobs, Specify quality level, View own job data, List own jobs and Delete own jobs permissions as well as everything in the Quality levels and Credits sections).
Step 8
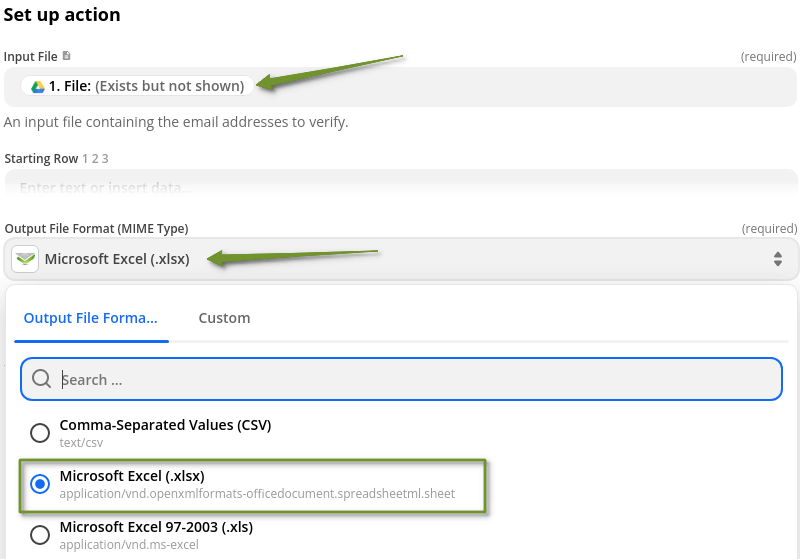
Configure the import and processing options for your lists: in the Set up action section, use the File value from the previous action as the value of the Input File field and choose the output format you wish Verifalia to generate in the Output File Format (MIME Type) field: we support Comma-Separated Values (CSV) and Microsoft Excel (.xlsx and .xls) file formats.
While these are the only two required settings, you can also adjust every single detail of processing of your lists, including the expected results quality level (through the Expected Result Quality Level field), whether and how to mark duplicate emails (through the Duplicates Detection field), the input sheet (for multi-sheets spreadsheet like Excel files), column (for multi-column sources) and rows range. It is also possible to adjust advanced import options for Comma-Separated Values (CSV) and plain text files.
After that, click Continue.
Step 9
Zapier will show a page to check if your setup is okay. Click TEST & CONTINUE If everything is correct: the message Test was successful will be displayed on the next screen. Click Done Editing to continue.
Step 10
At this point Zapier will ask if you want to turn on your Zap: before turning it on, we need to take another step, so that the zap will export the results of the email verification to another Google Drive folder. Click the Close button, then click the + icon below the Verify List of Email Address in Verifalia to include a new Action step.

Step 11
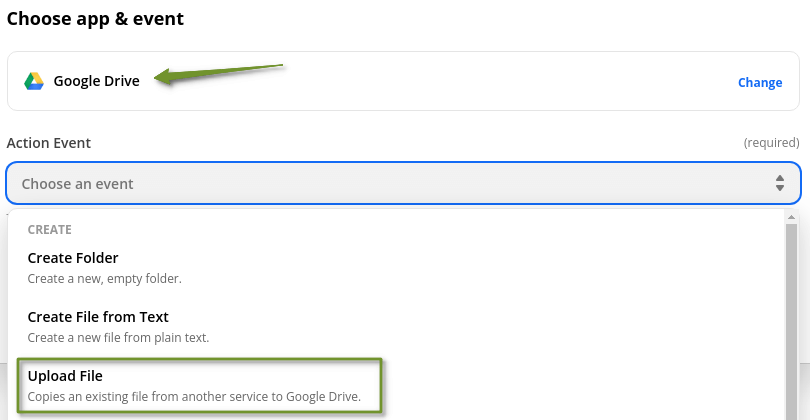
Choose Google Drive as the app that performs the selected action (type Google Drive in the Search apps... text box if it is not shown), then select Upload File in the Action Event section. Then Continue: in the Choose account screen select your Google Account (authorize using your Google credentials, if needed) and click Continue one more time.
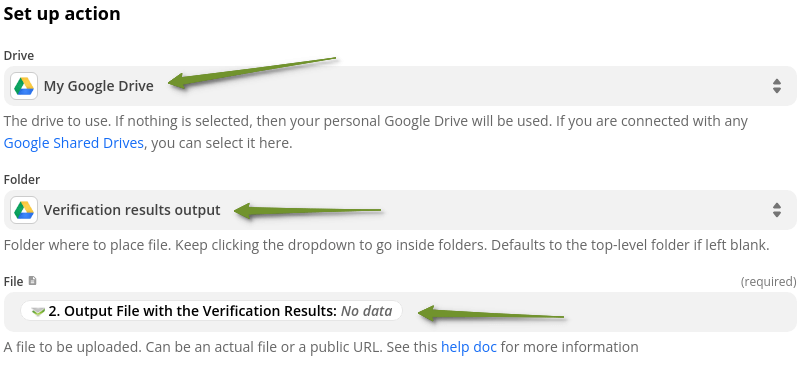
Step 12
In the Set up action section choose the destination Google Drive (can be the one you selected in the Trigger step) and select a target folder - which must not be the one you picked earlier, otherwise you will have an infinite processing sequence. In the File field select the Output File with the Verification Results from the previous action step.
Step 13
Once in the Test Action interface click the Test & Continue button to check the configuration; should you see an error mentioning the field file is missing just click Skip Test.
At this point, the Zap is ready - congrats! 🏆
Click Turn on Zap to activate your new Zap.
Final consideration and tips
We recommend that you do a manual test of your Zap, to make sure everything is working correctly: upload a small list to the Google Drive folder you selected in the Trigger step, wait for some minutes (the exact time depends on your Zapier plan), then check the target Google Drive folder: the email verification results file should have been uploaded there. If that is not the case, inspect the Zap activity log to see what went wrong.
The integration steps explained above are just one of the many ways you can use Verifalia’s email verification service on Zapier. Zapier's library includes over 6,000 apps, so there is a high chance they support the ESP or CRM you are already using: check the list of their supported apps. In minutes, you can create Zaps without any coding skills and connect Verifalia with thousands of different apps and services, automating your daily tasks with ease.