We're updating our Terms of Service to ensure fairness and sustainability of our Free Plan: learn what's changing and how it affects you.
How to export and validate an email list from Mailchimp?
If you use MailChimp to send your email marketing campaign, then its abuse-prevention program called Omnivore may make it more difficult to get 100% email deliverability.
Step 1. Login to your Mailchimp account and click on “Lists” from the menu

Step 2. Choose the list you want to export, click on the name of the list and choose “Export”. After the list export loads, click “Export as CSV” to download the file to your computer.
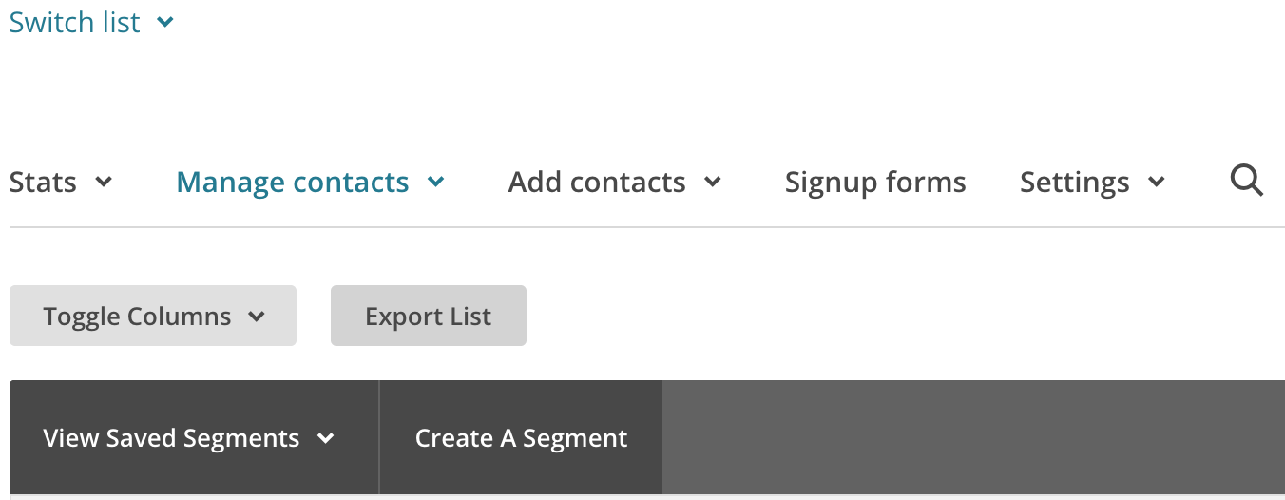
If you want to export only specific fields from your list, please refer to this MailChimp help article: https://mailchimp.com/help/view-or-export-a-list
Step 3. Convert the .csv exported file into a_ .txt_ file and upload it to your Verifalia account. The easiest way to convert the file is to open it in Excel and use the “Save as” command to export it as a plain text file (.txt extension). Alternatively, you may create a new text file using your favorite text editor and paste your data there - see this short article for step-by-step instructions: https://verifalia.com/help/email-validations/creating-plain-text-files-suitable-for-uploading
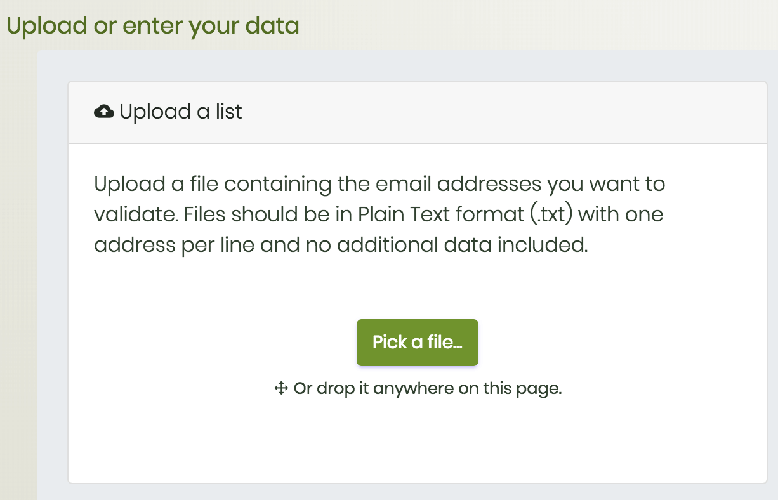
Before validating choose the results quality level between Standard, High and Extreme if you want us to detect possible duplicates from your imported email list.

Step 4. After your imported list is uploaded, you need to wait for the validation job to be completed. The processing time depends on many different factors, such as the list’s contents and the level of service.
Step 5. When your list has been validated, you can download the results. In the download window you have several options to choose from: Download Everything, Deliverable, Risky, Undeliverable and Unknown. You can also choose your preferred file format between .csv, .xlsx or .xls.

The advanced options let you filter the results you want to download based on the status codes. See what is the meaning of each status code by reading this article: Reading your results: our status codes and what they mean.

Step 6. To import your validated list, go to your MailChimp account and choose the list you exported earlier. Click on the little arrow and from the drop-down list choose “Import”.

Step 7. Depending on how you downloaded the validated file, choose one of the options below and click on “Next”.
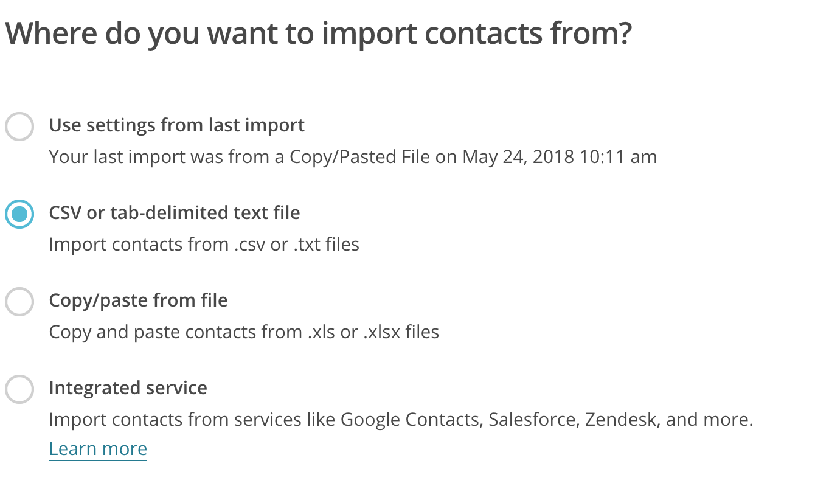
In the next window, you will be asked to upload the file with the validated emails: locate the Verifalia file and upload it to MailChimp.
Step 8. After that, you need to match the columns from your uploaded file to your MailChimp list. Choose the columns you want to keep and click “Next”.

Important note! For further segmentation, we recommend to edit the column “Classification” and change its name into “Validation status”. This can be done by clicking on Edit > New column name > enter “Validation status” > Save.
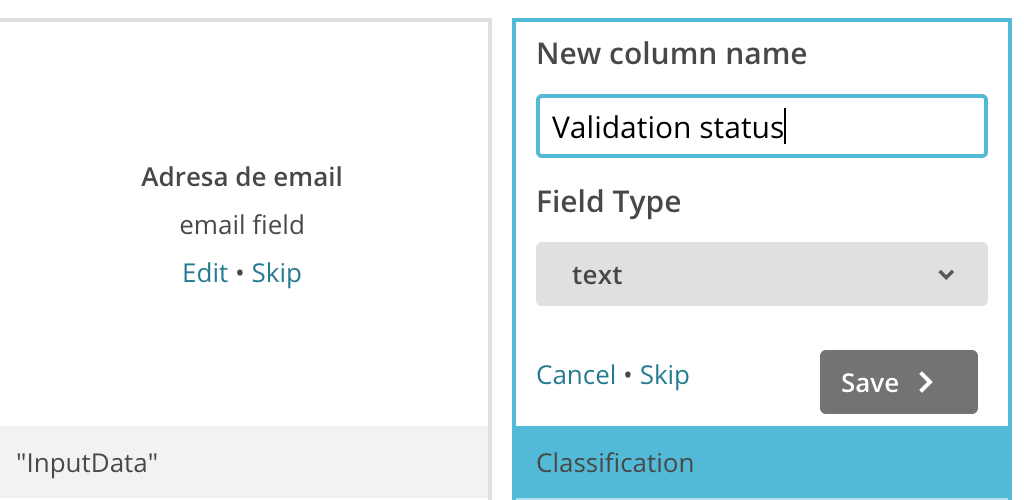
To send your email campaign only to email addresses marked as deliverable (and also safe to send), you must first segment your list.
How do you do that?
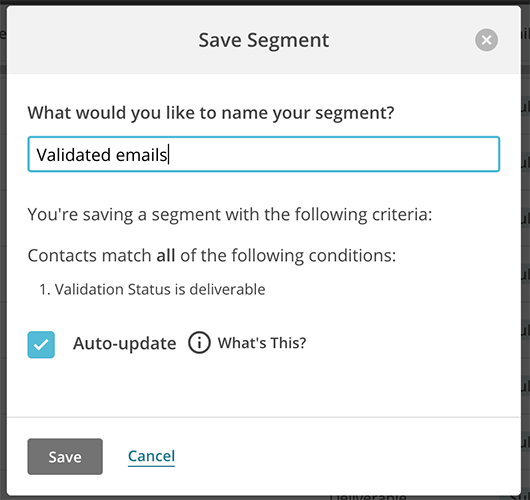
- Choose the list you just validated and click on “Create a segment”. Create the segmentation rule as following: “Validation status” is “deliverable”.
- Click on “Preview” and then in the next window click on “Save as segment”.

- Name your segment and click on “Save”.
If you need more help or have any feedback for us, please contact us using our contact form or via Livechat support on the right side of the screen.
Are you ready to remove the MailChimp Omnivore warning and validate your email lists? Sign up now!